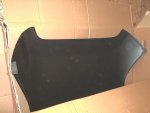
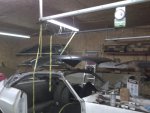
Nothing fitted or welded yet, but this was the first shot taken of the roof sitting on the car. It was an inspiring moment, really... a real sign of progress that didn't involve cutting stuff off the car, sandblasting, or grinding (yet). This fueled my determination like almost nothing else.

While it was in place, I fitted the roof "correctly" which is to say I centered it fore-and-aft and side-to-side (more on that later). I tack-welded the driprails in a couple of spots to keep them positioned correctly, then (of course) I had to lift the roof off again so I could access the driprail flanges and commence to plug-welding them in place. This represents 11% of the times I would repeat the "roof on/roof off" procedure. Yep, I did this
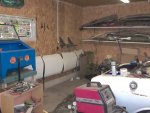
eight more times, two of them just making sure I didn't botch the driprails--which I thought I did anyhow (more on that later, too). Check out my one-man roof-lifting apparatus. Two ratchet straps, one anchored to the light fixture hooks and looped through C-clamp pliers clamped to the upper rear window frame, and the other across the garage door rails. Laugh all you want--it worked!
The fitting and welding of the driprails was one of those fast 'n' furious deals where I didn't think to grab the camera. That's OK, because it's an ugly process. Quite simply put, they're perfect reproductions--which is a nice way of saying, "They don't fit worth a damn." :doh: They really don't contour correctly, due to the complexity of the shape. This is not a "made in China" problem, it's simply a metallurgical reality: sheetmetal of that gauge just doesn't draw into the die and hold its shape the way you'd hope. You're probably thinking, "How could Hugh possibly know these things, Jass?" Pretty simple, really: after beating the shit out of 'em to get them installed, they looked
exactly like what was left of the originals prior to my cutting them off the car. Dodge had rigs and welding machines; I had Grandpa's hammer, a few C-clamp pliers, and a MIG welder and got
identical results:
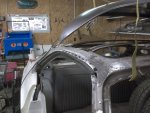
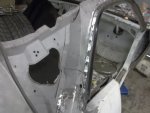
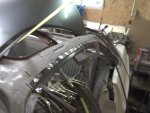
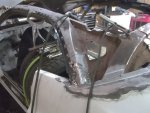
Yes! Real, visible, "I'm putting actual restoration parts on the car" progress! :dance:
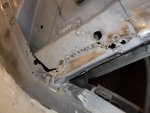
Now back to our previously-scheduled patching. :doh: A little more welding, a little more grinding...
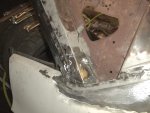
A little more "damn it, I forgot to take pictures during the process" too. However, you can see the repaired areas are done under the black rattle-can primer and paint. I should note here that for how bad the driprails themselves were, and the obvious rot in the corners of the vinyl-top/roof seam area, overall the structure was really pretty good. Chrysler made
no effort whatsoever at corrosion protection in those areas. It was raw steel from day one. Realistically, if it looked that good after 40 years, blasting all the powdery rust off and priming/painting the structure--even with Krylon--is/was total overkill. I just couldn't
not do it, though.
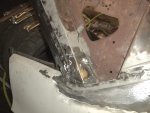
No more C-pillar hole!
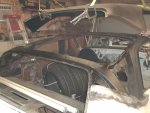
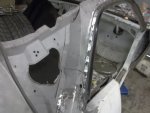
And the hole and black-rust nastiness at the top of the A-pillar near the driprail is once again solid as new, if not moreso. :dance:
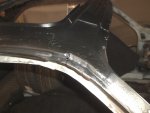










 Looking good Doc, can't wait for more pics! :2thumbs: