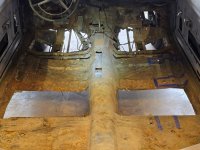
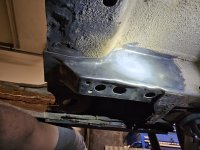
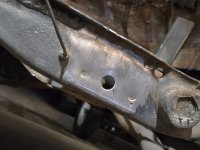
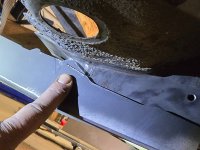
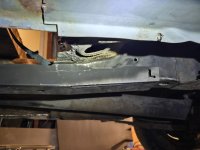
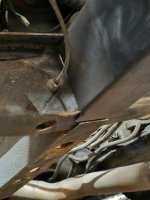
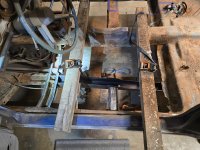
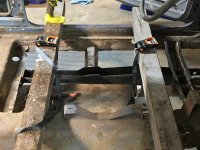
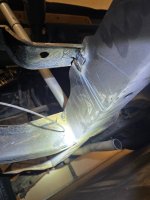
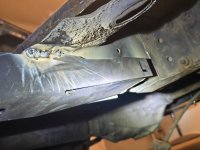
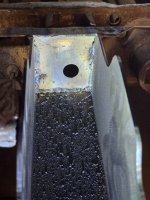
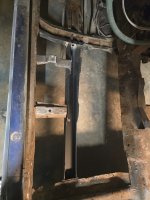
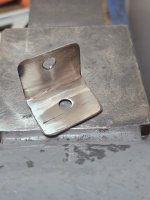
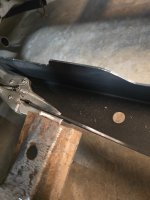
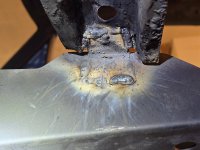
Today started out with more rusty floor metal removal, on the pass side this time. Specifically, I removed the metal on top of the outer seat braces. Unfortunately, my grinder control was off a bit and I cut through the top of the front brace, but luckily the sides were still holding it in place. After getting rid of the sheet metal, I welded the cut shut and ground the top back down flush with the original surface. The rear brace also got a few gouges in it, but not as bad as the front brace. Those got welded shut and smoothed over as well.
Ooohh look! A squirrel!
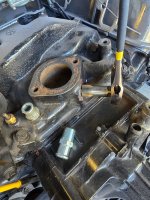
Not sure how it happened, but next thing I knew I was under the hood looking at the seized coolant bypass nipple on the intake. First, most of the nipple got sliced off so I had room to work on getting the rest of it out.
Next I started grinding a relief on the inside of the threaded part of the nipple with a rotary tool. It was doing fine, right up until the chuck on the end of the flex line stopped holding the diamond burr bit and spit it out at 25k RPM. Thankfully I wasn't in the line of fire, but the bit didn't survive the impact with whatever it hit. When I found it on the floor, all the diamond material was shattered off of the shank.
After setting that battery powered grenade aside, I went back to the hammer and chisel method to collapse the threaded part into the middle of the hole. It took a while, but the nipple stub finally cried uncle and turned into a NPT taco and then popped into the intake. The T-stat housing was off, so the piece was simple to get out of the water passage.
With that done, I headed to Homey Depot to exchange the broken rotary tool for a new one, and then pick up a new nipple from a LPS on the way home.
After I got back home, I used a NPT tap to chase the threads in the intake. Then I installed the new nipple, with thread sealant of course.
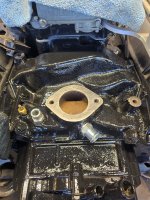
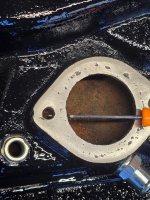
Since I'm trying to reuse this factory 4bbl intake, I needed to address the severe pitting on the T-stat mounting surface. I used a RO sander with an 80 grit disc on it and went to work on it for a while. The result is not great, but more like probably passable. I also cleaned up the 180 degree T-stat itself as it didn't look too old or worn out, just dirty.
While resurfacing the gasket surface, I noticed a chunk missing from one of the T-stat housing hold down bolts. It appears someone had used too long of a bolt and tightened it so hard that it busted off a piece of the intake. That piece now probably lives somewhere in the coolant passages in the engine, unless it was found and removed right when it happened. When I bolt the T-stat housing back on for good, I'll be double checking the bolt length has clearance from the bottom of the hole. I'll also be using thread sealant on the bolt threads and keeping an eye on that area for leaks as well.
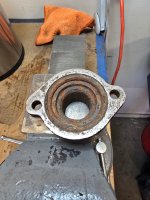
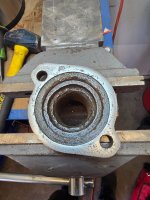
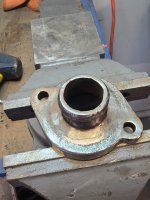
The T-stat housing on the other hand, was another story. It was rust pitted all over, inside and out. Since the RO sander was still nearby, I used it on the gasket surface for a while. Definitely better, but I'm going to want to keep an eye on it for leaks once I get the car running. Next, I picked at the rust on the inside to remove the big chunks, and then hit it with a wire wheel. On the outside pitting, I used a flap disc to bring the outer surface down evenly, so there wouldn't be an easy path for coolant to flow past the rubber hose. Once again, time will tell if this repair holds.
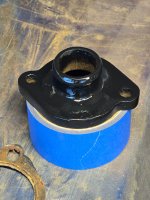
The front of the intake was all knicked up from manhandling the nipple and gasket surface areas, so I cleaned the area and taped off what I didn't want painted. I used more of the same gloss black engine paint from before and fogged that area with it. I also painted the T-stat housing at the same time. The t-stat gasket was toast, more like crispy burnt toast really, so I cut a new one out of some fiber-cellulose gasket material.
So much for getting the other subframe connector welded in today...