69 Barracuda FB. The next evolution

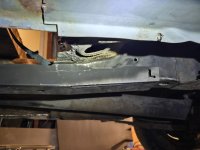
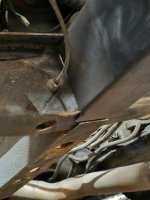
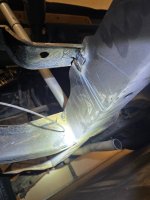
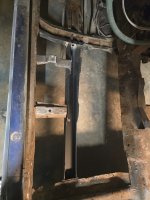
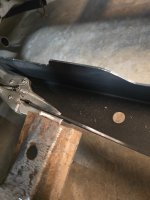
I opened up the floor a bit more in the pass side rear seat footwell area. Also cut off the middle of the exhaust at the straight part, right behind the trans pan, to get it out of the way. The retaining brace for the E-brake cable under the driver floor was then cut off the piece of floor I cut out yesterday.

After resting my back, I'll go out and wire wheel the areas where the subframe connectors land.
 

Attachments

  • 20261020_155721.jpg
    20261020_155721.jpg
    1.7 MB · Views: 0
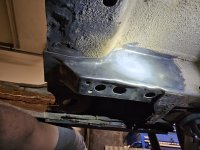
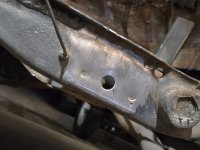
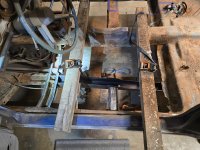
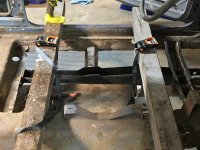
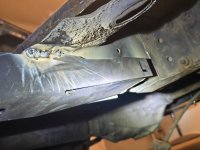
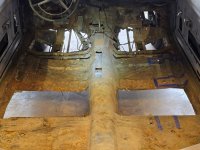
The center of the driver side floor was so distorted that I decided to remove the rest of it on that side. The areas the subframe landed got wire wheeled clean next. When I set the connector in place, there were still a few nubs that need to get cut off so it could sit flush with the under side of the floor around the forward end of the rear subframe. The connector is now strapped to a couple 4x4's to hold it in place for welding.

The plan is to weld it in tomorrow when my back is, hopefully, feeling better.
 

Attachments

  • 20261020_190119.jpg
    20261020_190119.jpg
    2 MB · Views: 3
  • 20261020_190130.jpg
    20261020_190130.jpg
    1.4 MB · Views: 5
  • 20261020_191543.jpg
    20261020_191543.jpg
    1.1 MB · Views: 4
  • 20261020_192723.jpg
    20261020_192723.jpg
    909.2 KB · Views: 4
  • 20261020_192747.jpg
    20261020_192747.jpg
    908.6 KB · Views: 4
  • 20261020_192856.jpg
    20261020_192856.jpg
    2.3 MB · Views: 2
  • 20261020_193042.jpg
    20261020_193042.jpg
    1.5 MB · Views: 3
Got 'er dun.

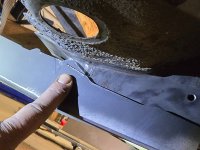
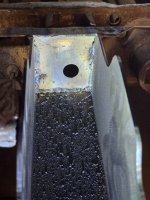
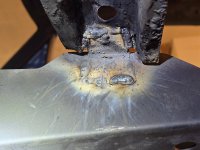
Both ends are now mostly welded in place. I need to get the bottom corner edges of the rear connection cut back before I can make those long edge welds. With the floor out, I was also able to weld the inside of the front edge

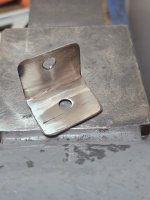
The front outer seat mount bracket had a little tab on the end near the connector, so I welded that to the connector as well. The rear seat mount bracket was shorter and wouldn't reach, so I made a little L-bracket from a piece of scrap angle iron. I clamped the angle to the connector and welded the pieces together.

Having both seat brackets tied into the connector has made the entire area more rigid, even without the floor attached yet.

And for the record, I am very aware my welds look like crap. It's notably easier to weld this thicker stuff, and I'm really NOT looking forward to welding the thinner floor metal in. I'll be keeping a lot of grinding wheels, and flap discs on hand for a while...

Tomorrow I'll move onto the pass side floor prep.
 

Attachments

  • 20261021_195516.jpg
    20261021_195516.jpg
    1.9 MB · Views: 9
  • 20261021_195554.jpg
    20261021_195554.jpg
    1.1 MB · Views: 6
  • 20261021_195629.jpg
    20261021_195629.jpg
    1.7 MB · Views: 8
  • 20261021_195750.jpg
    20261021_195750.jpg
    2.1 MB · Views: 9
  • 20261021_201139.jpg
    20261021_201139.jpg
    1.3 MB · Views: 6
  • 20261021_201432.jpg
    20261021_201432.jpg
    1.4 MB · Views: 6
  • 20261021_202238.jpg
    20261021_202238.jpg
    1.6 MB · Views: 9
All that matters is the welds are strong enough.

Plus you're welding with flux and haven't cleaned up those welds at all in the photos. They're fine.
 
If the weld doesn't look functionally solid, I just go over it again until it does. There ain't no stacks of dimes anywhere on this car unless someone else laid them down. 😅
 
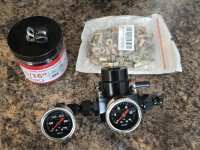
The fuel pressure gauges arrived in the mail today. There's a 100 PSI gauge on an adapter on the inlet feed line and a 15 PSI gauge on the regulator body to measure the set output pressure.

For space reasons, I'll add a 90 degree AN adapter between the inlet gauge and the regulator before hooking up the hard feed line. I want to have both the inlet and return lines coming straight up from below the regulator, with the outlet line going out the side.

The mail also brought a bulk bag of 1/4"-20 rivnuts and and some 5/16" P-clamps.
 

Attachments

  • 20261022_132802.jpg
    20261022_132802.jpg
    1.8 MB · Views: 1
Last edited:

SiteLock

SiteLock
Back
Top