69.5CUDA
Blah Blah Blah
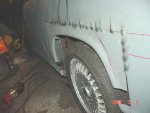
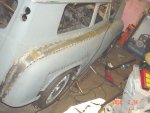
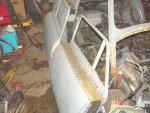
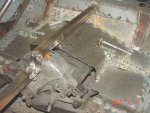
soo with the fender 1/4 inch up the only option was to cut the new door jamb area and "tweak" it ..this put everything right where it should be...
the camera tells the lines
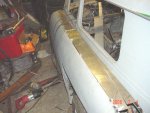
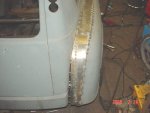
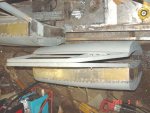
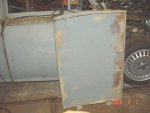
next up i dropped in a 4foot 4inch strip onto the gap to take a quick look ..note the small aluminum square so i wont weld the panel to the upper quarter
traced the "curve" onto the strip
tacked it into place and re-used the strip i cut off to fill the gap on the otherside of the same curved section....means less wasted material..actually almost ZERO wasted material
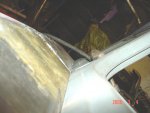
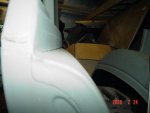
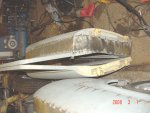
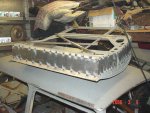
next up was to try and do the roll and back section of the gap
the camera tells the lines
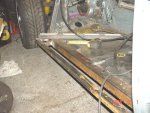
next up i dropped in a 4foot 4inch strip onto the gap to take a quick look ..note the small aluminum square so i wont weld the panel to the upper quarter
traced the "curve" onto the strip
tacked it into place and re-used the strip i cut off to fill the gap on the otherside of the same curved section....means less wasted material..actually almost ZERO wasted material
next up was to try and do the roll and back section of the gap


") ...wont have the $$$ to get another 10lber till the 1st..as well as some more 18guage sheet
...wont have the $$$ to get another 10lber till the 1st..as well as some more 18guage sheet


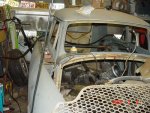
 ...but while i was out i spent some time at the micro car NW organizers shop and got some MUCH needed FINAL!! measurements from his rather hammered and abused lloyd..72k miles on it ..mine had 21k Kph on it...still trying to talk him out of it :toot: