69 Barracuda FB. The next evolution

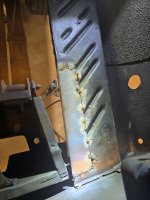
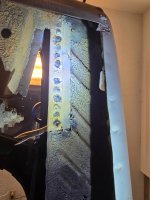
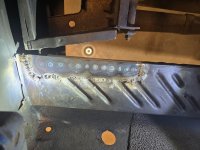
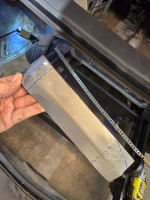
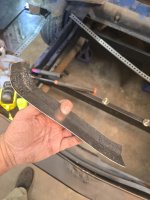
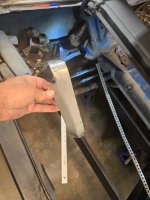
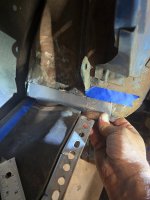
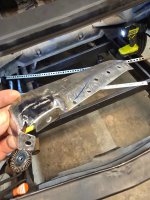
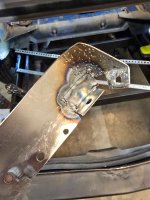
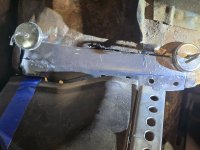
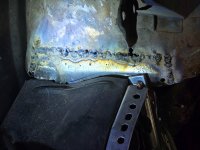
Today I tried the welder on the thinner sheet metal of the trunk drop off. The bent angle piece welded fine to the new patch, since they were both new 18ga material. Wherever I had to weld the new metal to the old stuff, it was hit or miss, depending mostly on whether or not the old metal was thinned out by rust. I had a few blow-throughs on the thin areas, even while using spaced out quick tacks, and allowing the area to cool down by moving the welds to different areas. I'll have to go back and try backing up those areas with some solid copper to try to prevent the blow-throughs. All in all, it's stuck on there solid. I need to get a propane torch to heat up the areas where the new metal needs to dip down to meet the dimples in the original drop off.

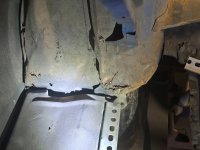
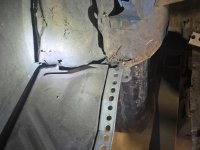
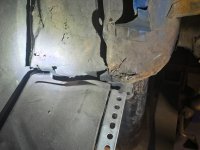
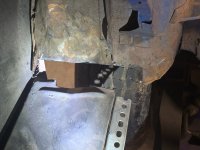
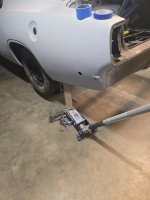
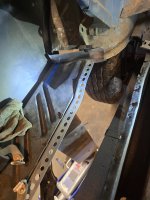
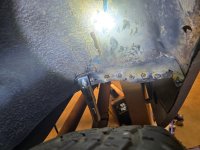
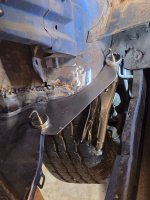
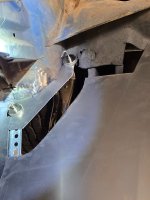
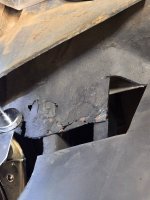
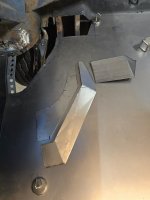
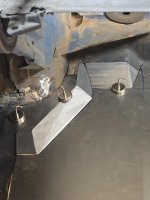
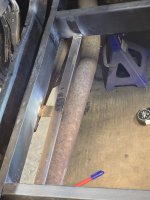
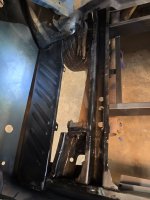
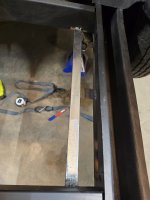
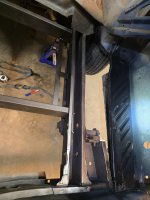
Next I moved on to the rear of the inner wheel house. It was previously patched, very badly, so I'm replacing the bad patch with solid metal. My metal brake was able to bend the small (8"-ish) piece of 18ga, so that gave me the main bend to start from. I got a body hammer and dolly kit from HF not long ago, so I used that to coax a couple of passable compound curves into the ends of the metal. The forward inside edge of the driver drop off was sagging pretty badly, so I propped it up level with the floor using a floor jack and some folded cardboard. The patch is mostly shaped and fitted, but I still need to build and weld a small filler piece onto the patch. Once that's done, the front edge of the driver side drop off will finally have somewhere to attach to.
 

Attachments

  • 20260922_124043.jpg
    20260922_124043.jpg
    2.8 MB · Views: 9
  • 20260922_130551.jpg
    20260922_130551.jpg
    1.5 MB · Views: 6
  • 20260922_130724.jpg
    20260922_130724.jpg
    2.8 MB · Views: 5
  • 20260922_131424.jpg
    20260922_131424.jpg
    1.6 MB · Views: 6
  • 20260922_131447.jpg
    20260922_131447.jpg
    2 MB · Views: 5
  • 20260922_131456.jpg
    20260922_131456.jpg
    2.2 MB · Views: 5
  • 20260922_135332.jpg
    20260922_135332.jpg
    1.8 MB · Views: 7
  • 20260922_135526.jpg
    20260922_135526.jpg
    1.4 MB · Views: 7
  • 20260922_135546.jpg
    20260922_135546.jpg
    1.6 MB · Views: 6
  • 20260922_142655.jpg
    20260922_142655.jpg
    1.7 MB · Views: 6
  • 20260922_142718.jpg
    20260922_142718.jpg
    2.1 MB · Views: 7
  • 20260922_145115.jpg
    20260922_145115.jpg
    1.8 MB · Views: 8
  • 20260922_145202.jpg
    20260922_145202.jpg
    1.7 MB · Views: 10
Last edited:
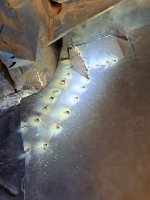
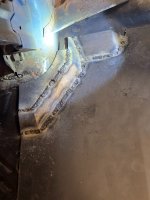
I got back at it this evening to finish off the wheelhouse patch. I made a small filler piece where the drop off weld flange area went from vertical to horizontal. Once fitted, that piece was then welded to the larger patch.

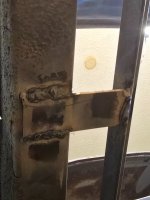
Drilling the weld through holes was done on the patch after tracing where the drop off flange would intersect the patch flange. I used magnets at first to hold the patch in place for the initial tack welds. About half of the butt weld area fit perfectly, so those areas were tacked together first. The mis-aligned areas were persuaded to get in place with the help of a hammer. For the through hole welds, I clamped the flanges together with vise grips to close the gaps before welding.

Now the drop offs and wheelhouses are ready for the center floor to be attached. Both of the inboard edges are leveled to the top of the subframes. The floor will wait until I've gotten the fuel tank mounts welded in.

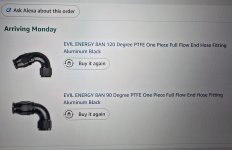
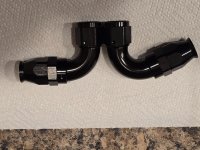
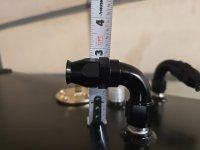
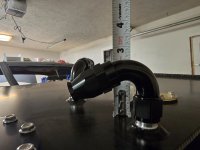
And regarding of the fuel tank, earlier I ordered two 8AN fittings for mockup. One 90 degree, and one 120 degree, PTFE swivel fitting. I'm hoping the 120 degree fitting will work as it should give me a tiny bit more vertical clearance. The question I have is whether or not the hose side of the 120 fitting will come too close to the top of the tank. If it does, I'll still have the 90 degree fitting to set the tank height.

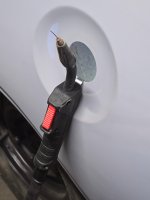
BTW: I like the way Ma Mopar designed a handy MIG torch holder right near where I was working when filling the spot welds.👍
 

Attachments

  • 20260922_211015.jpg
    20260922_211015.jpg
    1.4 MB · Views: 16
  • 20260922_211021.jpg
    20260922_211021.jpg
    1.5 MB · Views: 16
  • 20260922_211052.jpg
    20260922_211052.jpg
    1.7 MB · Views: 14
  • 20260922_213332.jpg
    20260922_213332.jpg
    1.6 MB · Views: 16
  • 20260922_214256.jpg
    20260922_214256.jpg
    2.1 MB · Views: 19
  • 20260922_110056.jpg
    20260922_110056.jpg
    1.3 MB · Views: 15
  • 20260922_213610.jpg
    20260922_213610.jpg
    734.2 KB · Views: 15
I haven't been feeling well lately, so there hasn't been much progress to report these past few days. I did get out to the garage tonight to start working on the front curvy edges of the front trunk corners.

To be continued...
 

Attachments

  • 20260925_204751.jpg
    20260925_204751.jpg
    1.6 MB · Views: 4
  • 20260925_205602.jpg
    20260925_205602.jpg
    1.5 MB · Views: 4
  • 20260925_205737.jpg
    20260925_205737.jpg
    2 MB · Views: 4
Well when your pretty much building the rear of the car from scratch I'd say your moving along at a pretty good clip!
I got a lot of inspiration from the Fitzee's Fabrication YT channel. I'm nowhere near as good as that guy, but I'm not after full resto perfection, so I'm fine with that.
 
Less rust, some cardboard, and then mo metal. :cool:

I'll weld these pieces to the main floor piece when I'm fresh. Gotta rest my back after going between hunching over in the trunk and standing at the vise for a few hours.
 

Attachments

  • 20260927_165503.jpg
    20260927_165503.jpg
    1.6 MB · Views: 4
  • 20260927_170023.jpg
    20260927_170023.jpg
    1.4 MB · Views: 4
I couldn't leave it like that, so I just went back out and welded the pieces to the main trunk part.

Now I'm really done for the night.
 

Attachments

  • 20260927_194507.jpg
    20260927_194507.jpg
    1.9 MB · Views: 1
  • 20260927_200540.jpg
    20260927_200540.jpg
    1.7 MB · Views: 1
There's not enough of a difference between the height of the 90 and 120 degree fittings to matter. Maybe 1/16"-1/8" at most. The 120 degree fittings cost more, so I'll just use the 90's for the tank and fuel lines. The 90's are also available in full PTFE fuel line and fittings kits as well. I haven't found any similar kits with the 120 degree fittings.
 

Attachments

  • 20260928_205843.jpg
    20260928_205843.jpg
    1.5 MB · Views: 0
After trying the fittings on the tank and taking a measurement, it looks closer to 1/8" - 3/16" difference between the 90 and120 fittings.

Moving onto fitting the tank, I lifted the tank with a floor jack so I could get a measurement for the length of the upper tank mount brackets. I got the driver side bracket aligned and then welded to the new crossmembers. For an added sense of security, I made some center braces to join the middle of the bracket to the subframe as well. After a quick clean up, I painted the whole area with rust reformer. I'll do the same process to the other side tomorrow, so the paint can dry before I do any more grinding in the area.
 

Attachments

  • 20260928_212846.jpg
    20260928_212846.jpg
    831.7 KB · Views: 7
  • 20260928_212905.jpg
    20260928_212905.jpg
    1.1 MB · Views: 6
  • 20260928_221025.jpg
    20260928_221025.jpg
    1.6 MB · Views: 8
  • 20260928_221103.jpg
    20260928_221103.jpg
    997.5 KB · Views: 6
  • 20260928_222535.jpg
    20260928_222535.jpg
    1.6 MB · Views: 10
Got the other side top mount fitted, welded and painted. Wrangling that tank up there for the fit up by myself sucked. The floor jack was too wobbly so I used a ratchet strap to hold the bracket to the tank, and another strap to hold the whole thing up by the crossmembers.

Tomorrow I'm going to weld up the mounting points under the crossmembers where the all-thread comes up from the under tank support tray. I'm using these kind of 1/2" connector nuts to weld to the bottom of the crossmembers to attach the all-thread to. If it looks like it needs it, I can add small gussets to help keep the nuts from wiggling around when I'm traveling over bumpy roads.


(silently waiting for the innuendos about that last remark. :ROFLMAO:)
 

Attachments

  • 20260929_201130.jpg
    20260929_201130.jpg
    1.3 MB · Views: 2
  • 20260929_201709.jpg
    20260929_201709.jpg
    1.9 MB · Views: 2
  • Screenshot_20260929_202733_Chrome.jpg
    Screenshot_20260929_202733_Chrome.jpg
    208.4 KB · Views: 2

SiteLock

SiteLock
Back
Top