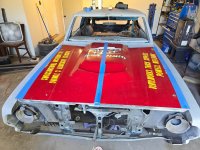
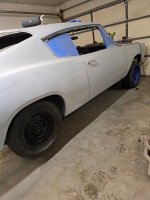
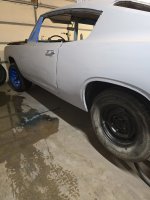
69 Barracuda FB. The next evolution

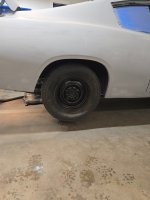
If it was me I'd put some junk rollers on it until that fun is finished.
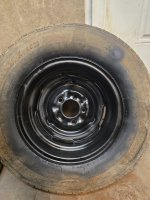
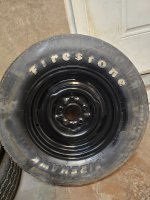
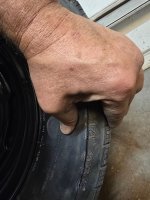
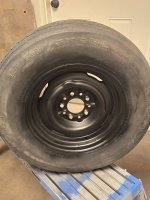
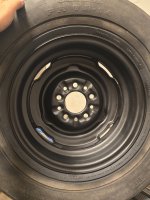
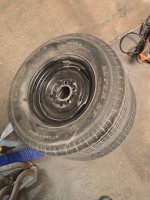
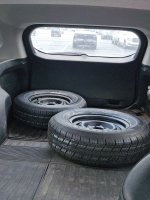
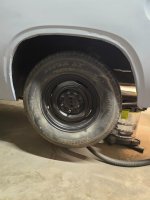
That's the plan. A friend just gave me two 14" rollers that hold air, but all my other old tires have issues. The ones that came on the car are in 3 different sizes, and three of those don't hold air. Luckilly the two tires that match in size are the same size as the new ones I had given to me. I'll just need to get the matched pair patched and valve stems replaced. Once I have four same size rollers that will hold air, I'll put the new tires and wheels in the shed and swap the rollers in their place. The new tires and wheels will get a good cleaning before I put them away.

The matched size tires are important so the car will sit level when I weld in the new trunk, floor and subframe connectors.
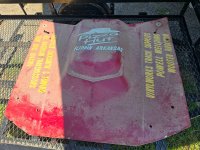
 
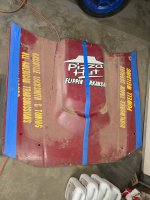
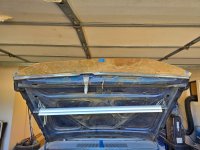
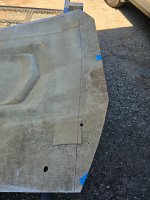
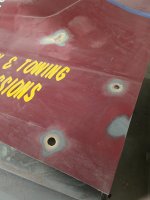
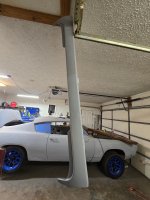
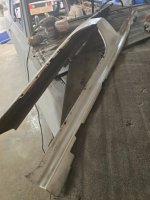
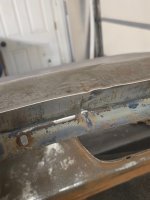
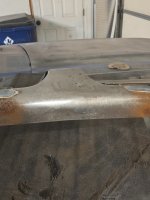
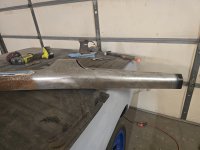
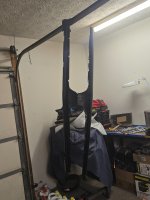
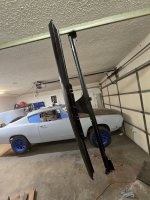
A friend of mine just gave me an old Dart race hood. Not sure what year the Dart was, and the hood was removed from the car and stored in his barn many years ago. He wanted the barn space freed up, and so he offered it to me for my project. I knew they were both A-body cars, and the nose of the hood would be longer since it didn't have a header panel. I wasn't sure about any other dimensions though. But for free, it was worth a shot.

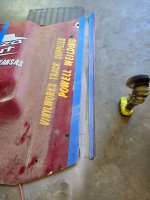
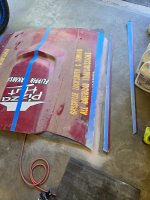
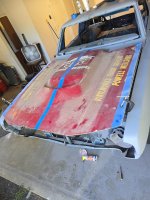
First thing I did was to find and mark the center line of both hoods. Then I measured the width of the Barracuda hood at the back, middle and front. Next I transferred those dimensions to the Dart hood to get the width to match. I then laid the Dart hood on top of the Barracuda hood, aligned the back and side edges and then used C-clamps to hold it in place. After that was secured, I opened the joined pair of hoods and traced the leading edge of the steel hood onto the bottom of the fg hood. Lastly, I cut the front edge back to that line.

I did all the fg cutting on the sides with an angle grinder and the garage door wide open. The leading edge was cut outside with the hood sitting on my 5x8 trailer. It was still dusty from the angle grinder, as well as temps being in the mid 90's. So after all the cutting was done, I gave the hood a quick wipe down with simple green and then headed inside to shower off all the dust.
 

Attachments

  • 20260818_151534.jpg
    20260818_151534.jpg
    2.6 MB · Views: 6
  • 20260818_154551.jpg
    20260818_154551.jpg
    2.2 MB · Views: 5
  • 20260818_154846.jpg
    20260818_154846.jpg
    2.4 MB · Views: 5
  • 20260818_155226.jpg
    20260818_155226.jpg
    2.7 MB · Views: 4
  • 20260818_160054.jpg
    20260818_160054.jpg
    2.1 MB · Views: 4
  • 20260818_160238.jpg
    20260818_160238.jpg
    1.9 MB · Views: 5
  • 20260818_160518.jpg
    20260818_160518.jpg
    2.5 MB · Views: 4
  • 20260818_161537.jpg
    20260818_161537.jpg
    2.2 MB · Views: 4
  • 20260818_161635.jpg
    20260818_161635.jpg
    3.3 MB · Views: 7
Last edited:
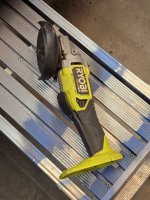
Lost a soldier on the battlefield tonight...

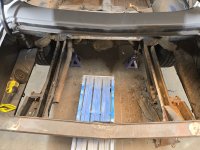
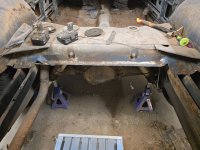
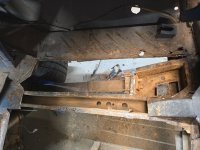
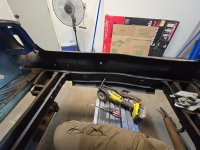
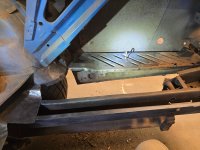
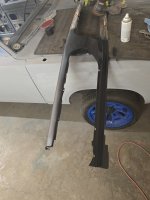
The paddle switch had been going out for a while, and it finally quit working. I was still in the middle of removing the old floor bits, so I had to fall back to the hammer and cold chisel to separate the sheet metal from the sub frame. Unfortunately there was still a bunch left to go when the grinder quit.

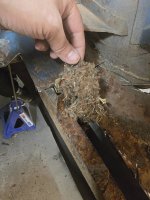
Edit: also had to issue an eviction notice to whoever or whatever was residing inside the pass side rear subframe.
 

Attachments

  • 20260819_190954.jpg
    20260819_190954.jpg
    2 MB · Views: 7
  • 20260819_190829.jpg
    20260819_190829.jpg
    2.1 MB · Views: 5
  • 20260819_190839.jpg
    20260819_190839.jpg
    2.3 MB · Views: 6
  • 20260819_190847.jpg
    20260819_190847.jpg
    1.7 MB · Views: 6
  • 20260819_183046.jpg
    20260819_183046.jpg
    1.6 MB · Views: 8
Last edited:
A new grinder is going to have to wait till payday to get replaced. Until then I'm making due with the hammer and chisel.

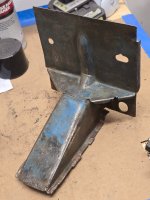
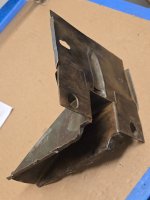
Today I worked at getting the pass side rear bumper bracket separated from the trunk floor and subframe. It took quite a bit of delicate back and forth work with the chisel to get the bracket free. Then I brought it to the vise and hammered out the kinks to make it sorta straight-ish. A small wire wheel and drill too care of most of the rust on the bracket. Grinding the weld remnants off everything will have to wait until the grinder is replaced
 

Attachments

  • 20260820_172946.jpg
    20260820_172946.jpg
    1.4 MB · Views: 2
  • 20260820_173018.jpg
    20260820_173018.jpg
    1.1 MB · Views: 2
Got a bit of good news today. I brought the dead Ryobi grinder to Home Depot to see if it was still under warranty, and it turns out it was still within the 6 month return/exchange period. So now I have a working grinder again. 😁👍

My back up plan, if I couldn't get it exchanged, was to just pick up a cheap grinder from Harbor Freight. I recently got one of those HF sale emails, so I decided to stop in on my way home from HD to check it out. They had a $15 corded angle grinder, but it was fairly weak (4.5A) so I passed on that one. They did have a better (11A) corded angle grinder on their ITC sale, $50 instead of $70, so I picked that one up. I also got a 10 pack of cut off wheels and four more cans of Rustoleum Rust Converter while I was there.

It's currently just under 100* out there, so I'm going to get back to work in the garage after it cools off some first. The A/C helps, but when the temps are that high, it can't quite keep up with how drafty the garage is.
 
It's currently just under 100* out there, so I'm going to get back to work in the garage after it cools off some first. The A/C helps, but when the temps are that high, it can't quite keep up with how drafty the garage is.
I've got a heat pump in my garage that works about the same. Unless I leave it on overnight it will never shut off due to reaching temp. Once the sun is up and it gets hot out, it runs all the time, so I only turn it on when I need it. A lot better than nothing though.
 
I haven't been able to do much out in the garage this past week due to the A/C not cooling the place off. Even when I came out into the garage after sundown, it was still blazing hot in there. I finally figured out that the small window that the A/C exhausts through had slid shut, so the hot exhaust was just slamming into the glass and returning back into the garage. :rolleyes: After getting that sorted out, and adding some insulation to the window as well for good measure, it's finally back to being tolerable inside the garage.
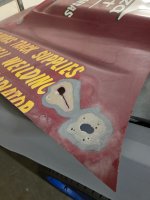
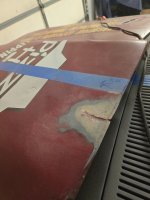
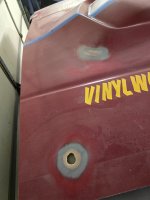
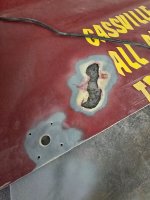
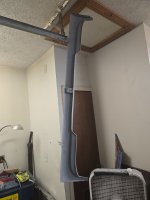
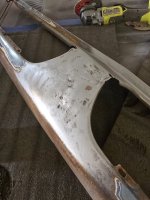
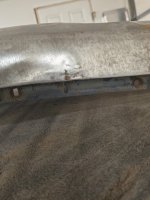
So anyway, I did get a little prep work done to the race hood so it's ready for some repair work. I picked up some resin and fg mat tonight, and I'll start applying it tomorrow.

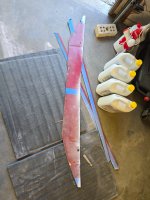
After those repairs are done, next step will be to bond some flat aluminum to the bottom edges to help stiffen it up. It's a race weight hood, so the edges are pretty wavy and floppy now that I've cut the rolled edges off of most of it.
 

Attachments

  • 20260826_183048.jpg
    20260826_183048.jpg
    1.5 MB · Views: 5
  • 20260826_183053.jpg
    20260826_183053.jpg
    1.7 MB · Views: 5
  • 20260826_183058.jpg
    20260826_183058.jpg
    1.9 MB · Views: 4
  • 20260826_183111.jpg
    20260826_183111.jpg
    1.7 MB · Views: 4
  • 20260826_183115.jpg
    20260826_183115.jpg
    1.6 MB · Views: 5
Last edited:
When I went out to the garage tonight I found that the A/C exhause vent had separated from the filler plate and the hose was blowing the hot air back into the garage again. I reset the hose back into the filler plate and secured it with a screw so it couldn't fall out again without physical force. Hopefully that's the last time I'll have to mess with the A/C again.

After that was resolved I crawled back into the trunk and worked on cleaning up the pinch weld areas. Just more grunt work, but still very necessary.

The rear part of the pass side trunk floor drop off is rusted through near the floor pinch weld. I'll leave that part as is, until I can cut the whole section out to replace it with some new metal in that area.

Next week I'll pick up a 4'x8' sheet of 18 ga sheet metal. That size will give me enough material to make the trunk floor, and make other patches with the leftovers. Most notably the trunk drop off and passenger footwell, above the pinch welb to the floor. There's going to be some of the inner cowl floor needing to be replaced, but I'm not sure just how much yet. I'll get a better look at it when I pull the dash off.
 

Attachments

  • 20260828_195153.jpg
    20260828_195153.jpg
    1.7 MB · Views: 4
  • 20260828_195145.jpg
    20260828_195145.jpg
    2.4 MB · Views: 4

SiteLock

SiteLock
Back
Top