65 Valiant build

Stretch

Hey! There’s no easy button for a body like this!
It took me ten years to catch the ol' Plymouth so here's to hopping it doesn't take that long to build it.
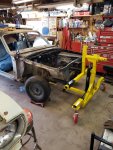
My Garage is quite full of the Oakland project. I hope to have the wood done on that by Christmas. Once that's out of there I'll get the little Plymouth in and torn down. I plan to build a rotisserie right after its stripped down.

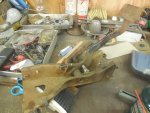
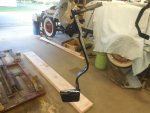
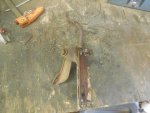
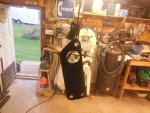
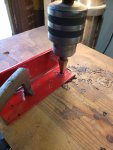
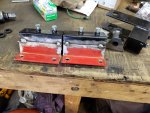
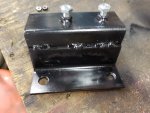
As for today, I sand blasted and painted the clutch, brake, & throttle pedal assembly. I need to start somewhere and I have these parts just hanging around so, Pitter Patter I guess.

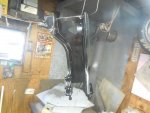
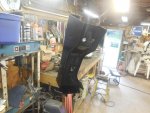
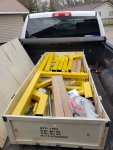
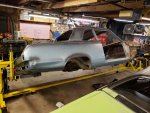
Here's a few pictures of the car the day Jass and I picked it up and then some pictures of the pedals.

IMG_20170501_184040876.jpgIMG_20170501_190151878.jpgIMG_20170501_190307113.jpgDSCN2604 resize.JPGDSCN2758 resize.JPGDSCN2760 resize.JPGDSCN2761 resize.JPGDSCN2765 resize.JPGDSCN2766 resize.JPGDSCN2767 resize.JPG
 
And a few more.

DSCN2767 resize.JPGDSCN2768 resize.JPGDSCN2769 resize.JPGDSCN2770 resize.JPGDSCN2772 resize.JPGDSCN2774 resize.JPGDSCN2775 resize.JPGDSCN2776 resize.JPG

I'm not so sure doing this was a good idea. Now I have the itch to get busy!DSCN2767 resize.JPGDSCN2768 resize.JPGDSCN2769 resize.JPGDSCN2770 resize.JPGDSCN2772 resize.JPGDSCN2774 resize.JPGDSCN2775 resize.JPGDSCN2776 resize.JPG
 
Last edited:
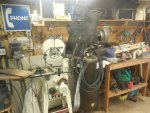
He has a vise. It's served its purpose for many moons, but we've discussed more than once that it needs to be replaced.

At first, I thought the throttle pedal was still bolted to the piece of firewall I ingloriously hacked out of that Barracuda. I was wondering what the hell you were doing. :doh: :D
 
Agreed, but you seem to have a dearth of vises. The metal clampy kind, not the Jester kind. How do you hold stuff? How many arms do you have?
I have a vice. Its on the far left side of the bench (when facing it). You can just see the back of it in the picture of the painted pedal mount. And yes, it is very warn and in need of replacement. It has been in need of replacement for a long time but as it turns out the cost of a good bench vice is crazy! This one hasn't made me mad enough to drop that kind of money yet.
 
I've gotten lucky in finding a couple of super old ones that hadn't been abused for reasonable prices. I'm on the hunt for a 5" or larger version so I can bang on it.
 
I have done a lot of work on Stinky since I last updated this thread so I guess I'll just jump in and start updating.

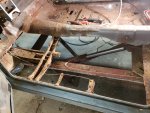
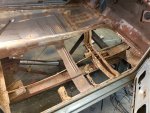
Around October of '17 I pulled the interior and rubber floor mat. I knew it needed floors when I bought it. What I found was not has bad as I expected. but not as good as I had hoped.

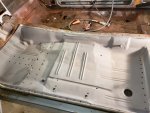
No one makes full length pans for the early A-bodys so the search lead me to Auto Body Specialists. They make front and rear pans but they are about 4" short of each other so I had to hand fab that on one side. I was lucky enough to find a perfect left side used pan on For A-bodys only. The guy woh sold it to me did a spectacular job of removing it. Zero damage and he stripped and epoxy primed it before shipping it to me.IMG_20171022_163852874.jpgIMG_20171022_163923338.jpgIMG_20171022_163913968.jpg
 
Last edited:
Now the fun stuff begins. Removal of the rusted floor pans and installing the used (but so nice) used left side pan and the installation of the right front and right rear pans. That led to some fab work to make them fit and the fab work for the section under the seat they dont cover.20190127_150549.jpg20190202_161416.jpg20190203_153749.jpg20190203_143828.jpg20190202_161345.jpg20190302_163608.jpg20190302_163608.jpg20190303_120735.jpg20190303_124406.jpg
 
Last edited:
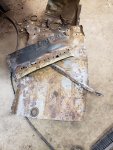
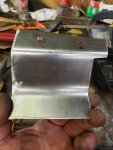
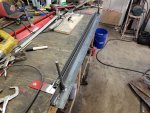
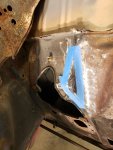
The removal of the right front pan revealed a rusted panel on the top of the frame rail. The last picture above is the patch for that panel. I needed a metal break for some of this so I made one out of some angle, a old u bolt, aome coil springs and some pipe I had around. It works great.20190126_125723.jpg20190316_093742.jpg20190309_121419.jpg20190323_133713.jpg20190323_141956.jpg20190323_143544.jpg20190323_163142.jpg20190323_183903.jpg20190209_142206.jpg
 
Last edited:
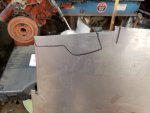
I ended up finding the firewall had some rust around the hole for the steering column so I had to fab up that piece.20190216_115825.jpg20190216_115854.jpg20190216_122218.jpg20190216_130532.jpg
 
Last edited:
You do some nice work! Really like that home made break...could you do a write up on how you built it I would love to make one of my own. ;)
 
After repairing the floor I picked up this gem. Its made by Titon and it works great!20190511_135748.jpg20190511_140642.jpg20190511_141954.jpg20190511_161138.jpg
 
Last edited:
I had to make the mounts so out came the 2" angle I happen to have around for the fromt mounts. For the rear I welded the shackle mounts to the adapters that came with the rotisserie.

Of all the tools I have bought over the years, this one by far was the best decision. The ability to position the car however I want has made fabracobbling and welding so much easier. My fucked up back is much less of an issue. I'm sure it has improved my ability to do the fab work greatly.20190512_103000.jpg20190512_105728.jpg20190902_185151.jpg20190903_191700.jpg20190903_191812.jpg20190904_194501.jpg
 
Last edited:
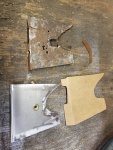
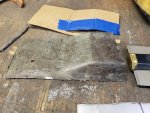
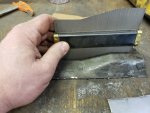
Once it was on the rotisserie I finished what I hope is the end of the firewall repairs. There was some very nice rust behind the HVAC box. Out came the CAD! (cardboard aided design), my tape, and my contour gauge.20200112_130909.jpg20200112_130919.jpg20200112_132331.jpg20200112_132452.jpg20200112_144329.jpg20200112_172942.jpg
 
Last edited:
So much for that being the end of the firewall repairs. As I was cleaning up around the column opening I found a small pin hole. No big deal, I'll just grab my copper spoon, hold it against the back of the panel and fill the hole with weld. Nope! Small hole is now a big hole. Out comes the "CAD" and the fabracobbling commences yet again!

20191109_141022.jpg20191109_141253.jpg20191109_143314.jpg20191109_141022.jpg20191109_141253.jpg20191109_143314.jpg20191109_143831.jpg20191109_145702.jpg20191110_085934.jpg20191110_104034.jpg20191110_152958.jpg
 
That repair led to another repair right next to it.20191110_161117.jpg20191110_161117.jpg20191110_163436.jpg20191116_142515.jpg
 
Last edited:
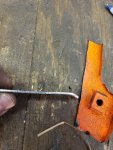
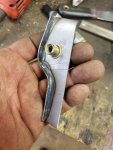
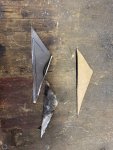
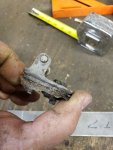
While removing the left side floor I found my throttle pedal pivot was a rusty pile of shit. No such thing as a reproduction pivot. No luck finding a good used one. No problem. I'll just make one.

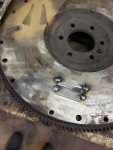
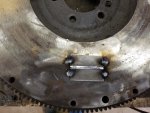
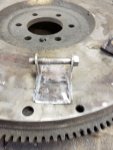
I have a old chevy flywheel that I keep for welding small parts together. I tack weld the parts to the flywheel then weld the parts together. Once welded and cooled I grind the tack welds off. Doing this not only holds the small parts on place for welding but it keeps them from warping.

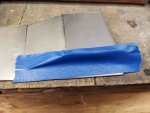
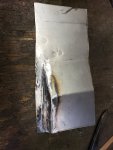
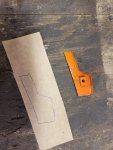
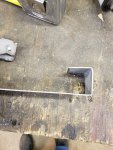
Is you can see after bending the metal I cut it in half. Then cut out the shape for the piviot pin stands. I tacked them to the flywheel back to back so I could be sure they areexactly the same shape and size. That also allowed me to drill the hole exactly the same on both. I then cut it free and re tacked it for final welding. I still need to make the "rib" for each end.20190527_124557.jpg20190527_124600.jpg20190527_124620.jpg20190527_124732.jpg20190527_125052.jpg20190527_130410.jpg20190527_135701.jpg20190527_135709.jpg20190527_140816.jpg20190527_145241.jpg
 

SiteLock

SiteLock
Back
Top